Download Tutorial 3 Data and Solution File
Tutorial 3 guides the user through developing a CatchmentSIM project by sampling existing DEM data for Lake Tana in Ethiopia. The tutorial shows how to setup a DEM using the sampled data, condition the DEM, incorporate lakes into the project and derive a stage-area-volume relationship for the lake.
SETUP Project
To begin a new project, select CatchmentSIM Drop Down >> New Project menu option.
Click the Browse button and enter the filename and location of your project.
Click the Set Projection button and select 'Universal Transverse Mercator (WGS 84)' from the top field and then select 'UTM Zone 37, Northern Hemisphere (WGS 84)/p32637' from the bottom field.
Enter the following X & Y design plane extents for the project:
Xmin: 233900
Ymin: 1200900
Xmax: 461880
Ymax: 1414650
The remainder of the form can retain the default parameters. The completed New Project form should look similar to the following:

Click to Enlarge Image
Click OK.
developing the dem
In order to sample an existing DEM, it is first necessary to setup a blank raster DEM (i.e., a DEM with no elevation data). This is completed using the Create DEM >> Setup Blank DEM menu.
For this example we will use the design plane to define the extents of the DEM. Next we must specify the resolution (or pixel size) of the DEM. For this tutorial we will develop a blank DEM with 150 metre square grid cells. This is completed by selecting the 'Use Square Grid Cells' check box, selecting the '2b) Set Cell Size (Square Cells Only)' radio button and entering '150' in the lowest dialog box as shown below.

Click to Enlarge Image
Next we need to populate the blank DEM cells with elevation data from our external raster DEMs. Sampling of the external raster DEMs is completed by selecting the Create DEM >> Raster DEM menu. Sampling of TIN DEMs is also supported by CatchmentSIM by selecting Create DEM >> TIN.
A dialog box will open asking you to specify the external raster DEM. Ensure that the appropriate DEM file format is selected in the 'Files of type' drop down box. For this dataset, the file format is Arc/Info ASCII GRID format, which should be selected by default. Find the 'Lake_Tana_Bathymetry.txt' file and select 'Open'. Another dialog box will appear asking if the external datset is in the same projection as the CatchmentSIM project. In this instance the DEM is provided in lat/long whereas the CatchmentSIM project is in UTM coordinates. Therefore, we need to select 'No'. A Projection dialog box will then appear asking you for the coordinate projection of the external DEM. Select 'Longitude/Latitude' (which should be selected by default) and select OK. The external DEM data will be re-projected from lat/long to UTM coordinates and will be displayed in the CatchmentSIM window as shown below.
Now we must populate the remaining blank (i.e., white) areas of the DEM with another external DEM. This will be completed using SRTM DEM tiles.
Select the Create DEM >> Raster DEM menu. The 'Open' dialog box will appear again. However, this time we need to ensure that SRTM-3 DEM is selected from the 'File of type' drop down box. Navigate to the 'SRTM Data' folder and locate the SRTM tiles. You will notice that there are a number of data files in this folder. To expedite the process of incorporating all of this data into the CatchmentSIM project, select all of the SRTM DEM files by using the Ctrl key or my dragging a rectangle around the group of files. Once all of the files are selected click the 'Open' button. In this instance you will not be prompted to specify a coordinate system for the external DEM data as all SRTM data is provided in lat/long coordinates only. CatcmentSIM automatically recognises this and undertakes the necessary re-projection.
The vast majority of our DEM should now be populated with elevation data. However, in order to visually display all of the DEM data we need to modify the minimum and maximum elevations specified in the DEM View Attributes. To modify the display characteristics of the DEM highlight 'Digital Elevation Model' in the Layer Controller window. Select 'Properties' to open the DEM View Attributes form. You will notice that the minimum and maximum display elevations have automatically been set to 1772.89 and 1786 respectively. Accordingly, any elevations outside of this specified range will not be displayed. Click the 'Reset' button to automatically adjust the minimum and maximum elevation values to contain the full range of DEM elevations and click 'OK' twice to return to the main CatchmentSIM window. The CatchmentSIM window should look similar to the image below.

Click to Enlarge Image
As shown above, we have populated the vast majority of the DEM with elevation data from the external DEMs. However, some isolated 'white' areas still remain (as highlighted by the black circles above) and need to be assigned elevations before we can proceed. We will complete this using the DEM Interpolation Tool.
Select Create DEM >> Interpolation Tools >> Interpolate Remaining Areas to open the Interpolate DEM form. Select 16 Search Rays and click the 'OK' button. The DEM interpolation algorithm will assign elevations to remaining blank DEM pixels by interpolating data from adjoining pixels where elevation data exists. You will now notice that following application of the interpolation algorithm all of the previously blank pixels have been assigned elevations.
IMPORTING OF LAKE POLYGON
Now we will import a polygon representing the boundary of Lake Tana. Go to the GIS >> Lakes menu. Load the 'combined_lake.mif' file in the 'Lake Polygon' folder.
The lake polygon will be displayed over the DEM as shown below.

Click to Enlarge Image
hydrologic treatment of dem
Although the DEM has now been developed, it may not yet be ready for use to delineate the catchment. The DEM will probably contain some flat or pit pixels, that is, pixels that are either equal or lower in elevation than the lowest of their neighbouring pixels. These pixels are usually the result of lack of source data definition or anomalies resulting from the interpolation algorithm.
As the DEM has been developed from an external DEM, application of the breaching algorithm in isolation should yield acceptable results.
Select DEM Conditioning >> Breaching Algorithm. A dialog box will appear containing the default parameters for the breaching algorithm. Adopt the default parameters and click the 'Process Entire DEM' button to apply the breaching algorithm to the entire DEM. An additional form will appear asking if we would like to exclude lakes from the breaching algorithm. Ensure the 'Exclude Lakes' check box is selected and click 'OK'.
After completion of this algorithm you should notice that the flat and pit pixels have been mapped to an optimised downslope outlet pixel and this is indicated on screen by a yellow line. Pixel elevations along this line have been linearly lowered to provide a downslope flow-path for the original flat or pit pixel. If you redraw the screen (F2) and re-map flat and pit pixels you should now notice that none exist within the expected catchment boundary.
CATCHMENT DELINEATION
At this stage your DEM should be ready for use in delineating the catchment. To test flow routing on the DEM try mapping flow from a selection of pixels within the catchment. Do this by selecting Flow Mapping >> Map Pixel Flow Path and clicking on some points on the screen that you expect to drain into Lake Tana.
For this example, we want to define the catchment draining into Lake Tana. Therefore, Lake Tana serves as the catchment outlet.
To specify Lake Tana as the catchment outlet select Subcatchments >> Add All Lakes as Outlet. The lake polygon should change from blue to red to indicate that it is now specified as a catchment outlet.
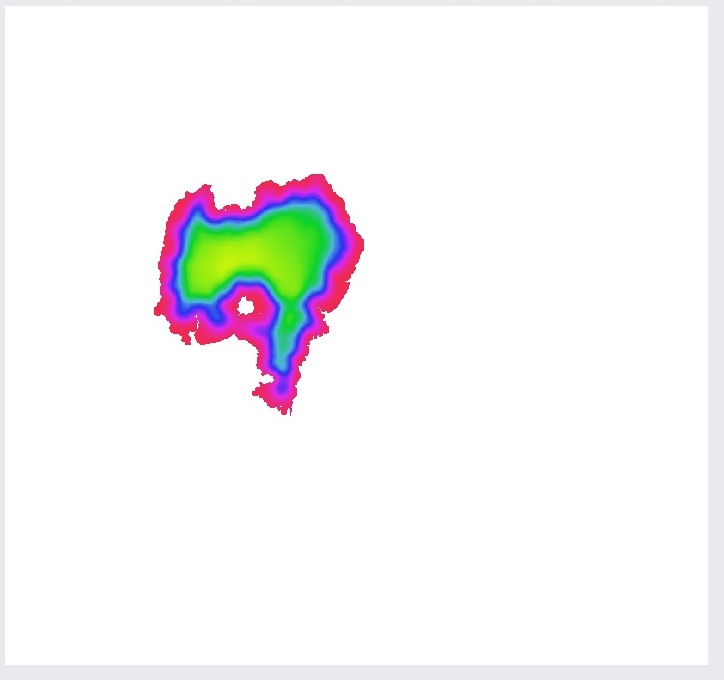
Now that the catchment outlet is specified, we can map the catchment draining to the lake by selecting Subcatchment >> Map All. The mapped catchment boundary should appear in red as shown below.

Click to Enlarge Image
stage-area-volume calculations for lake
Most hydrologic models can incorporate stage-storage relationships to represent flood storage areas, dams or onsite detention basins. CatchmentSIM can automatically calculate stage-area-storage relationships for any lakes incorporated in the project.
To access the lakes database select Subcatchments >> Lakes Manager. A review of the information contained in the lakes summary table indicates that the maximum surface elevation is about 1780 metres. However, available information on Lake Tana indicates that the maximum surface elevation is actually closer to 1786 and indicates that the lake polygon or DEM may not be reliable representing the characteristics of the lake. As the DEM was developed based on detailed bathymetric data, whereas the lake polygon was prepared from SRTM WB data it is suggested that the errors may be associated with the lake polygon.
To rectify this problem, it is possible to artificially elevate pixels underlying the lake polygon boundary to the actual maximum water surface elevation (i.e., 1786 metres) using the vetor data set operations. In this way stage-area-storage area calculations will be performed from the invert of the lake up to the elevation of pixels along the polygon boundary (i.e., 1786 metres), thereby more reliably replicating reality.
Select DEM Conditioning >> Vector Dataset Operations. As we only want to modify pixels underling the lake polygon boundary, ensure that 'Pixels on Polygon Boundary' is selected. We want to set all pixels underlying the polygon boundary to an elevation of 1786, so select the 'Set to Specific Elevation' radio button and enter 1786 (the form should look similar to that shown below). Click OK and when prompted select the 'combined_lake.mif' file and click 'Open'.

Click to Enlarge Image
Reopen the lakes database by selecting Subcatchments >> Lakes Manager. You will notice that the maximum surface elevation is now 1786 metres. The stage-area-storage relationship (refer image below) has also been adjusted to reflect the increased storage afforded by higher lake perimeter. The stage-area-storage relationship for the lake can be saved in CSV format and imported into third party applications (e.g., hydrologic models).

Click to Enlarge Image